
Signs You Need to Repipe: What Atlanta Homes on Cobb County Water Should Watch For
Here’s the thing most people get wrong about repiping: it’s not really about how old your house is. We’ve...
5 Warning Signs Of A Copper Pipe Leak Every Homeowner Should Know
Copper pipe leaks are not always a one-time accident. Across Metro Atlanta, a single small leak often points to...
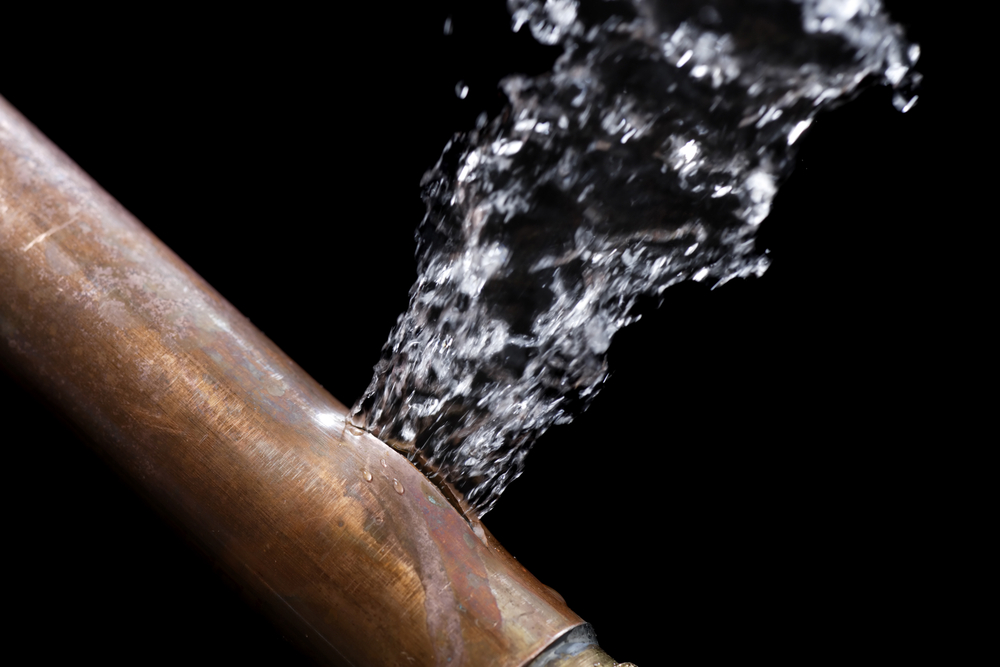
Why Copper Pipes Develop Pinhole Leaks In Atlanta
A pinhole leak in copper pipe is never random bad luck. It is the visible result of a corrosion...
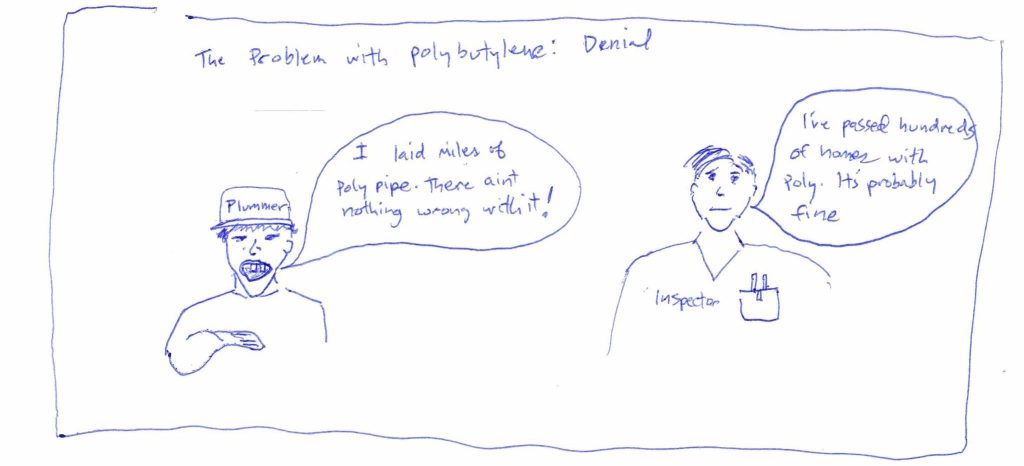
Found Polybutylene During Your Atlanta Home Inspection? Here’s What to Do
You’ve finally found the house: In the best school district in Cobb County, close to work, fenced in yard,...
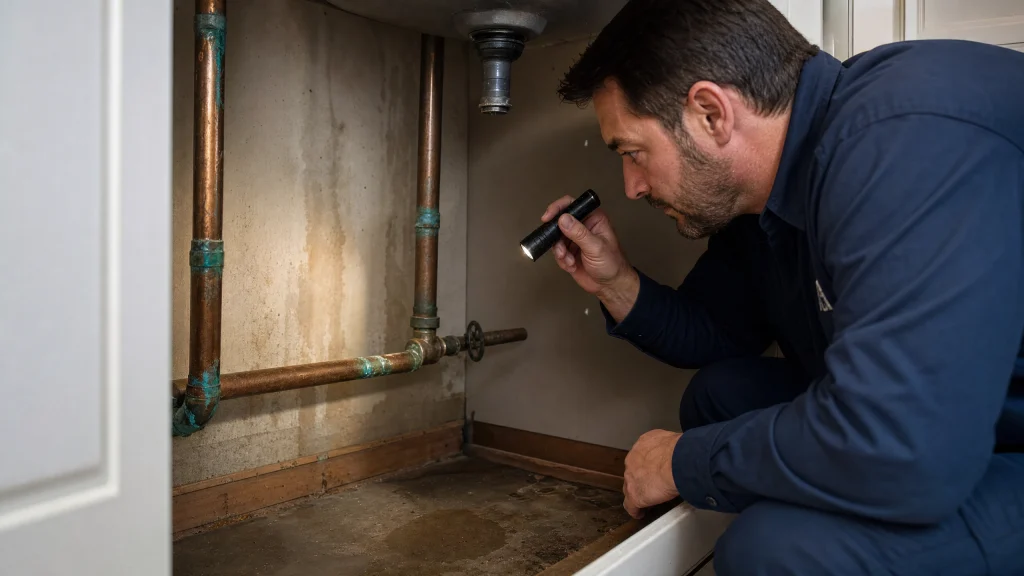
Homeowner’s Guide to Detecting Leaks
Your plumbing system has two jobs: bringing clean water in and carrying waste water out. While simple in concept,...
Copper Pipe Warranties in Cobb County: What Homeowners Need to Know
If you live in Cobb County or Northwest metro Atlanta and your home has copper pipes, you’ve probably heard about...
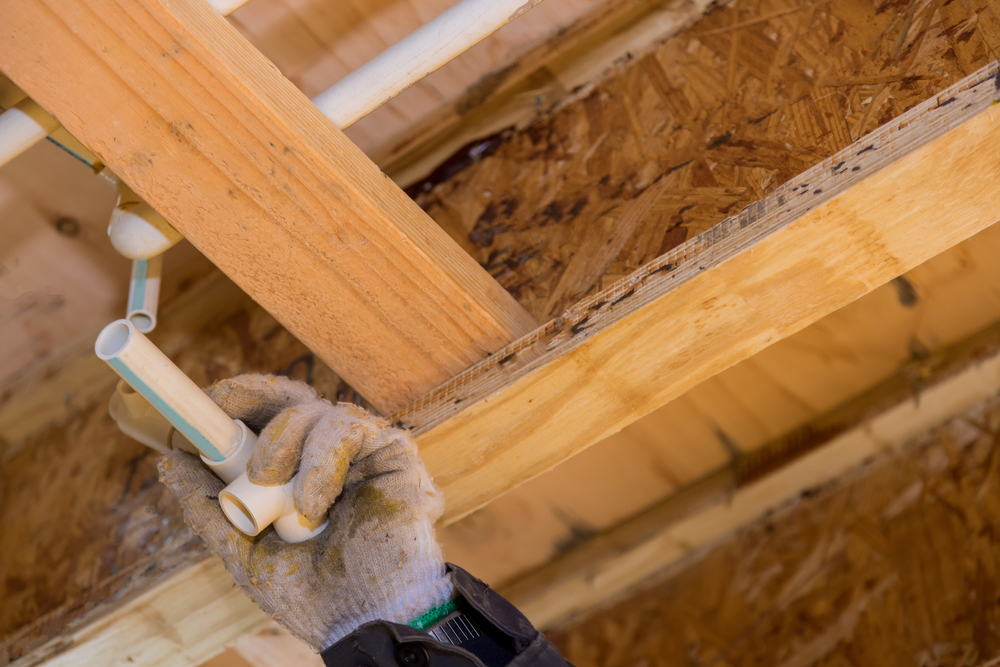
Why Homeowners Should Replace Polybutylene Pipes
Polybutylene piping, often called “gray poly” or “Poly-B,” was commonly used in residential plumbing systems from the late 1970s...
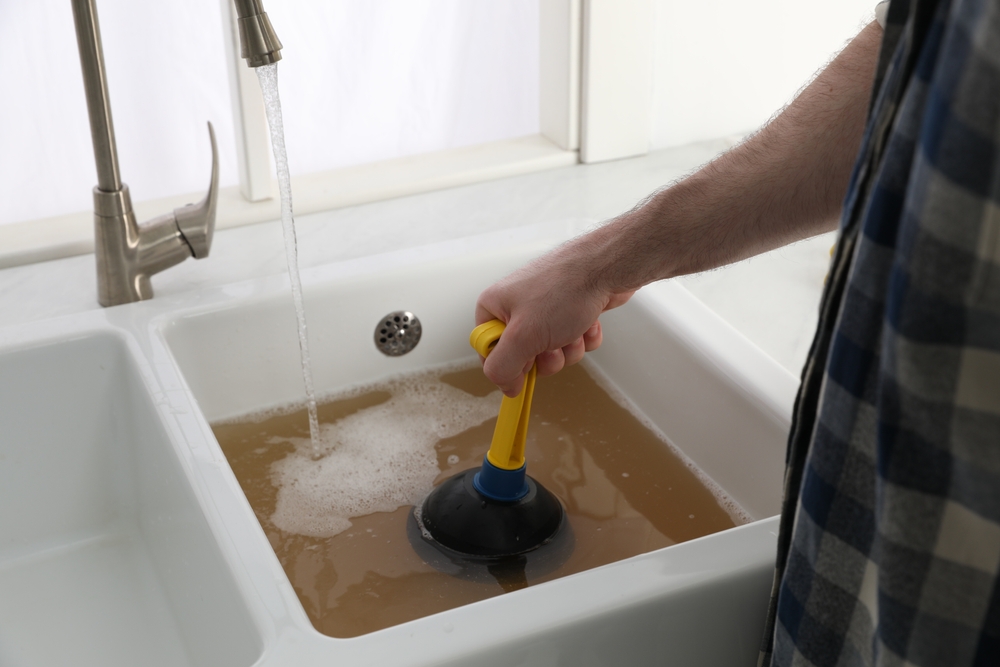
5 Reasons You Need More Than a Plunger to Clear Clogged Drains
Persistent clogs, slow drains, and foul odors often signal bigger plumbing issues. Learn how professional plumbers clear tough clogs fast.
...How To Choose a Water Heater: 12 Factors to Consider For Your Best Options
Before buying a hot water heater, there are several important factors to consider to ensure you choose the right...
Prevalent Class Action Lawsuits Against PEX Piping
A comprehensive overview of the manufacturers reveals the following insights:
Legal experts possess compelling evidence suggesting that PEX pipe manufacturers...
Flowguard Gold CPVC a great pipe for your homes repipe
Flowguard Gold CPVC is made in the USA by Lubrizol, is the ideal material...
4 of the Reasons to Watch Out for Pex Pipe
PEX (cross-linked polyethylene) piping has become a popular alternative to traditional copper and CPVC pipes in plumbing applications. It...
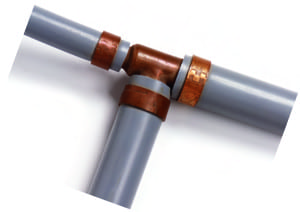
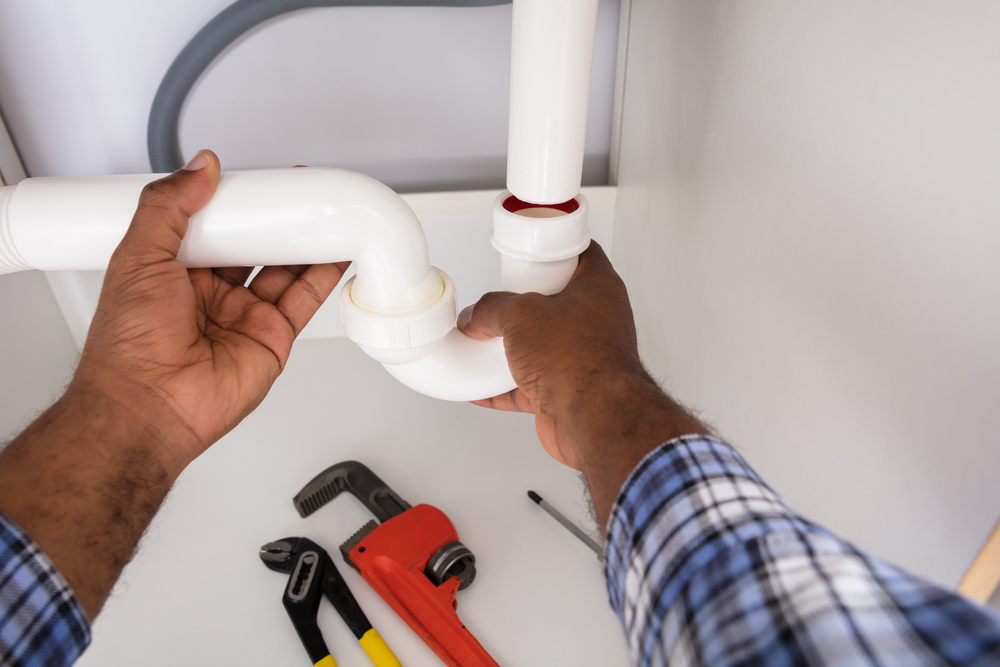
8 Methods for repairing copper piping
Introduction – Water leaks can be a very frustrating experience, whether it’s from a toilet or a copper...
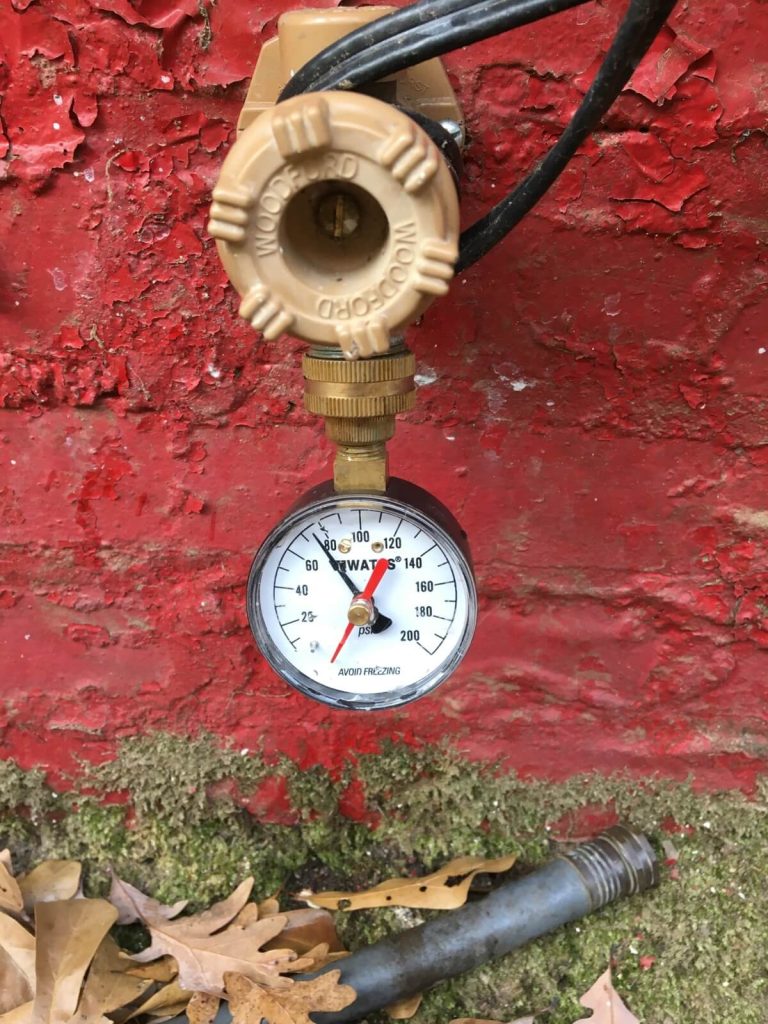
Pinhole Leaks in Failing Copper: An Atlanta Problem
Jim and Deb live in a two story brick home in Marietta, Georgia. They discovered a pinhole leak in...
Rinnai Tankless Service Flush: Yes you can!
Rinnai tankless water heaters work perfectly as long as they are installed properly and undergo an occassional “flush out” to...
Polybutylene Kills a Home Price
People who are considering buying a home with polybutylene pipe should be aware of the major and invetable problems they...
Article About Aging Plumbing System
The Agent’s Role as Advisor and Risk Manager Editor’s note: This is the second of a three-part series to explain...
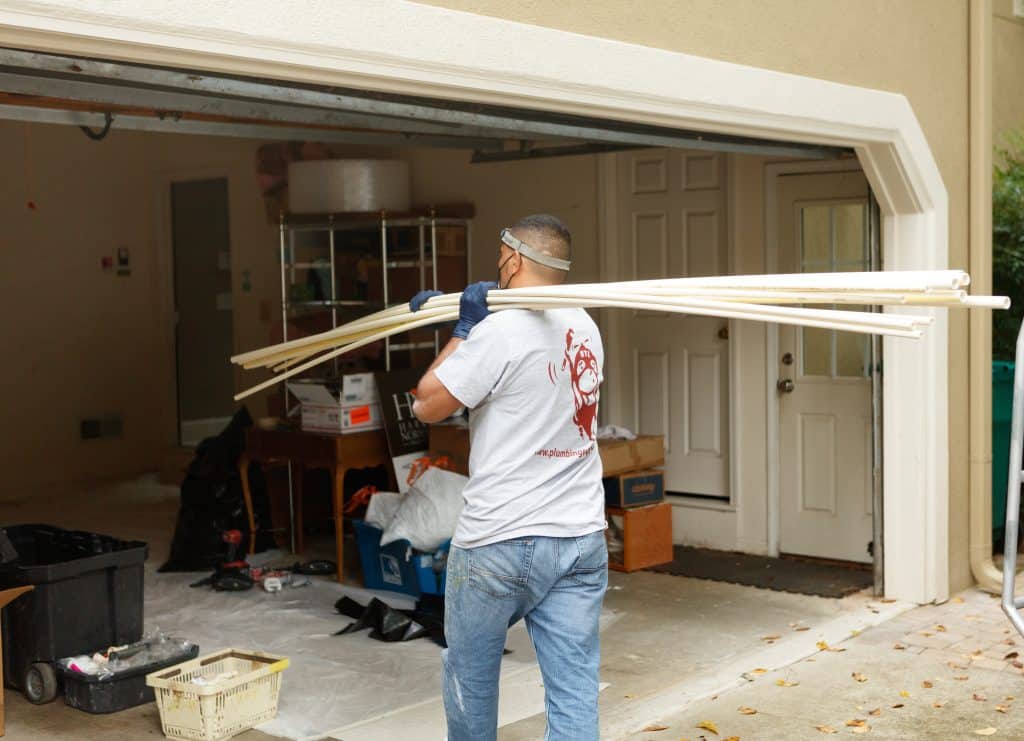
Plumbing Express Pipe Replacement
“With polybutylene, it is not a question of if it is going to fail, it is a matter of...
Leading Experts in Pipe Replacement in Georgia
Let’s face it – pipes are not very sexy. No one ever says, “What lovely pipes! I think I’ll...
Rinnai Tankless Water Heater Apparel
FOR IMMEDIATE RELEASE:
Plumbing Express Atlanta Receives Order of Hat and Pens Bearing the Rinnai Logo
By...
How to Unclog a Drain
I receive a phone call one morning. It is my lawyer (AKA my friend Bryan) and he sounds a little...
Polybutylene Pipe Replacement: CPVC verus PEX
Add Pex to the mile long list of things that could give you cancer:
https://calpipes.org/ProtectingCalifornians_PEX.asp
We’re not sure about pex...
Polybutylene Pipe Replacement in Marietta, GA: Repipe Before the Next Pinhole Hits
If your Marietta home was built between 1978 and the mid-1990s, polybutylene pipe is probably still hiding in your...
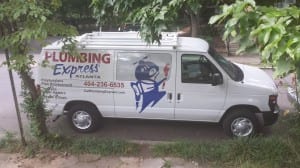
Plumbing Service Van
From the desk of Plumbing Express Atlanta: For Immediate Release: There’s a new design for our van lettering!
New Shutoff on Polybutylene Repipes
We’re finally we are switching – the people have spoken!
Who wouldn’t want something that’s cheaper, easier to use,...
Sealing the Waterline
I used to work at a company that installed lots of water service lines. Whenever it would rain severely across...
Polybutylene Pipe Repair Cost vs. Poly Pipe Replacement
Here’s a story from one of our customer’s that illustrates the point.
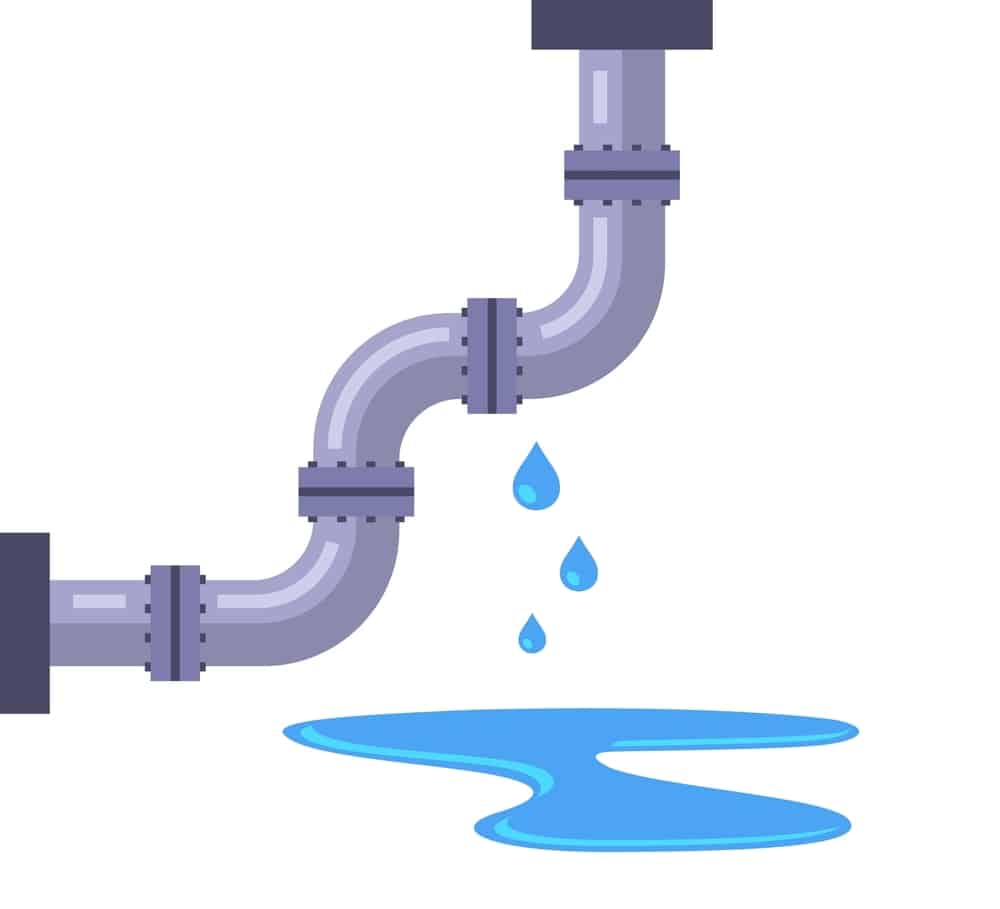
George, our customer, noticed a fine...
When a Little Plumbing Problem Causes Big Damage
Recently we installed a water service line for a family. We were working outside the house exclusively. The job involved...
Cost of polybutylene plumbing?
Polybutylene Replacement: Well worth it
Many of our pipe replacement clients contact us for the first time after one or...
Replacing Polybutylene Pipe
Metro Atlanta, GA Homeowners and buyers need to know:
There is irrefutable scientific proof behind...
The totally awesome Rinnai RH180 Hybrid Water Heater
For the last decade Rinnai has taken the innovation lead in the tankless water heater market:
Concentric venting, lower...
Signs You Need to Repipe: What Atlanta Homes on Cobb County Water Should Watch For
Here’s the thing most people get wrong about repiping:...

5 Warning Signs Of A Copper Pipe Leak Every Homeowner Should Know
Copper pipe leaks are not always a one-time accident....


Found Polybutylene During Your Atlanta Home Inspection? Here’s What to Do
You’ve finally found the house: In the best school...

Copper Pipe Warranties in Cobb County: What Homeowners Need to Know
If you live in Cobb County or Northwest metro Atlanta...

Why Homeowners Should Replace Polybutylene Pipes
Polybutylene piping, often called “gray poly” or “Poly-B,” was...

5 Reasons You Need More Than a Plunger to Clear Clogged Drains
Persistent clogs, slow drains, and foul odors often signal bigger...

How To Choose a Water Heater: 12 Factors to Consider For Your Best Options
Before buying a hot water heater, there are several...

Prevalent Class Action Lawsuits Against PEX Piping
A comprehensive overview of the manufacturers reveals the following insights:
...

4 of the Reasons to Watch Out for Pex Pipe
PEX (cross-linked polyethylene) piping has become a popular alternative...

Rinnai Tankless Service Flush: Yes you can!
Rinnai tankless water heaters work perfectly as long as they...


Rinnai Tankless Water Heater Apparel
FOR IMMEDIATE RELEASE:
Plumbing Express Atlanta Receives Order...

Polybutylene Pipe Replacement in Marietta, GA: Repipe Before the Next Pinhole Hits
If your Marietta home was built between 1978 and...


Polybutylene Pipe Repair Cost vs. Poly Pipe Replacement
Here’s a story from one of our customer’s that...


When a Little Plumbing Problem Causes Big Damage
Recently we installed a water service line for a family....
Cost of polybutylene plumbing?
Polybutylene Replacement: Well worth it
Many of our pipe replacement...

The totally awesome Rinnai RH180 Hybrid Water Heater
For the last decade Rinnai has taken the innovation lead...


What Atlanta Homeowners Say About Plumbing Express

Service couldn’t be completed due to needing a new system. We appreciate the very informative visit as well as insight that could help after a new unit install.

Plumbing Express was great. I had a failed sump pump that had partially overflowed into the basement. Nasty. Josh was the tech that did the work. He was efficient, neat and courteous. I will use Plumbing Express if I have any other plumbing needs and I will recommend them to my family and friends.


The technician was very knowledgeable and professional. I believe they did a very good job.

Ron was our second plumber from this company. The first plumber came, examined pipes and said he found no leak, even though we had experiences a large amount of water leaking from the ceiling in the finished basement. Several days later we had another leak-same area but less water the second time. Ron came in, listened to our frustration and did a more thorough inspection of the pipes and identified the problem. He was very personable and professional. On his third visit, we had several replacement pipes installed and are without leaks again. Our frustration, with the situation, was my son had used your company to replace pipes when he purchased the home and founding out not all the pipes were included with that process.


Tim arrived on time and was very professional. He took his time to explain the problem and the process it would take fix the water line.

Called Plumbing Express as tankless hot water not operating. Their website states "Get Free Plumbing Quote ". When service man showed up an looked at unit he said there would be a $207 charge to look into unit in order to give me a quote to fix unit. Due to not having hot water and time required to get another company to address the problem I agreed to pay $207 for quote. After looking in unit I was told he would not be able to fix due to age of unit and parts not available. I think he should have said parts not available when seeing model number on front of unit and I would not have wasted $207.

Outstanding customer service, we will definitely be using them in the future for any plumbing needs. Can’t thank them enough!

Extremely knowledgeable and very helpful. The team was excellent. The job was completed in 1 day with a great team. Very expressive.

Daniel Perez was great in coming out to check the problem I had with a water leak from my air conditioner line. His recommendation was correct.

Great and informative service while I was in a bind without a functioning water heater.

Plumbing Express is my go-to plumbing support team. They have fair pricing, well-vetted technicians, and a truly exceptional scheduling system. Rod, my technician, was the best. He quickly assessed the problem and gave a fair estimate, working hard to keep to the schedule. He even brought Josh along on the day of service, and the two of them worked well together. They addressed the bathtub drain repair with expertise and caused the least sheetrock damage. It was difficult to replace the broken pipe and get to the upstairs drain, but together they made it a success.

Daniel did a great job and was very professional during his service call last week!

Rod and Josh did an awesome job taking care of my clogged sinks. Knowledgable, professional and great to work with - I really appreciated their help today and would highly recommend them and Plumbing Express!

Daniel was excellent. The work he did was simply superb. I highly recommend your company and hopefully Daniel will get more and more work

Dylan from Plumbing Express came over and replaced our garbage disposal for us. It was older, had a massive leak, and needed to be replaced. He did a great job and was in and out in about 30 minutes! I also asked him to check out a potential leak I had been hearing in my ceiling. He used a thermal camera to investigate and was very honest and upfront about what he found. Rather than immediately cutting into the drywall to confirm something uncertain, he explained that the sound could simply be pipes expanding and that opening the wall might be unnecessary. He recommended monitoring the area and waiting to see if a wet spot appears, which would clearly indicate an actual leak. I really appreciated that he didn’t try to upsell or push unnecessary work. Overall, great service and a great guy. They will definitely be our go-to plumbing service from now on.


Once again we had some problems under our kitchen sink so we called Plumbing Express who were able to get us on their schedule pretty quickly after these storms Tim Robinson came out to do the job. Tim has been to our house for a number of different plumbing problems. He is personable & professional. As usual he did a great job even though this particular problem turned out to be far more difficult than anyone had expected. As frustrating as it was, Tim worked through it until he finished the job. We can't thank him enough.

Anthony was very competent, professional and friendly. He answered all my questions throughly. Highly recommend!